This post may contain affiliate links. Affiliate links may earn us a small commission at absolutely no additional cost to you. Read the full disclosure.
Uncomplicated RV Setup: A Step-by-Step Guide for Setting Up Camp
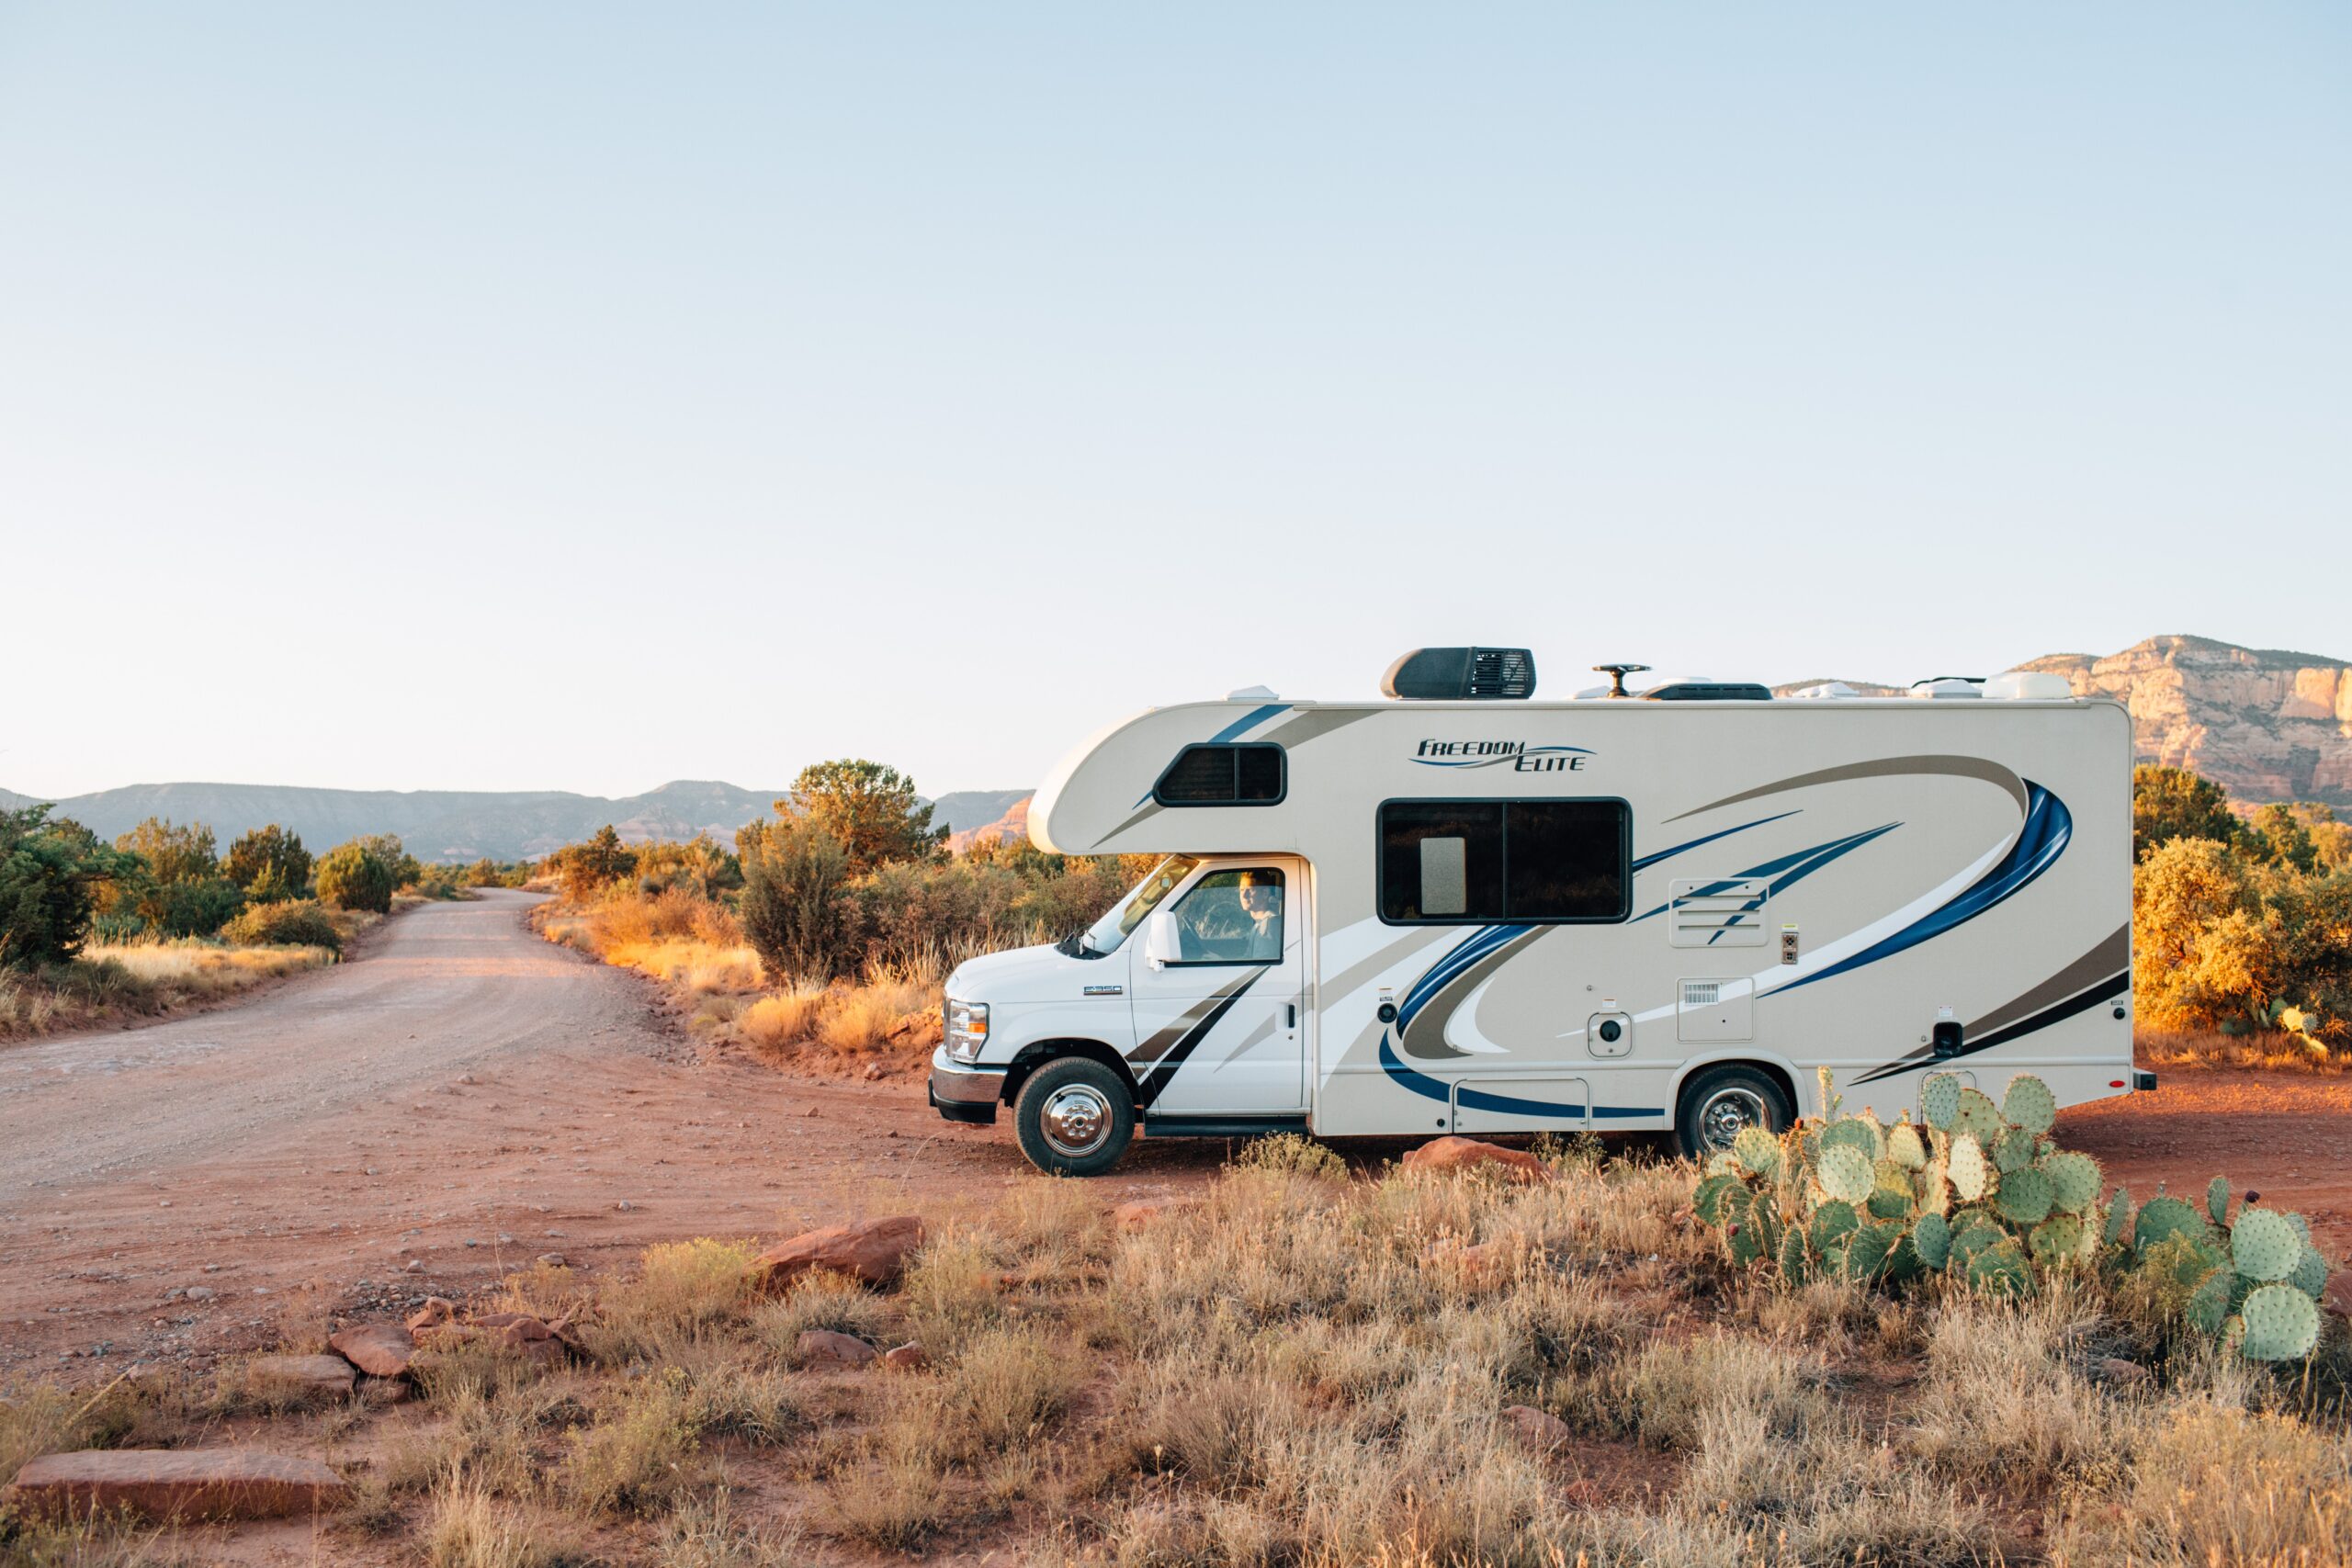
Arriving at a campsite with your RV is an exciting moment, signaling the start of your outdoor adventure. However, the process of setting up your RV can feel overwhelming if you’re new to the RVing lifestyle. Fear not! In this blog post, we’ll guide you through the simple steps to set up your RV at a campsite, ensuring a smooth and enjoyable camping experience.
Step 1: Choose the Right Campsite
Selecting a suitable campsite is crucial for a comfortable stay. Consider factors such as campground amenities, proximity to facilities, privacy, and access to nature. Make a reservation in advance to secure your spot and ensure a hassle-free arrival.
Step 2: Park Your RV
Upon reaching your campsite, take a moment to survey the area and plan your RV’s positioning. Follow these steps to park your RV safely and efficiently:
- Check for any obstructions (trees, rocks, etc.) that may hinder the parking process.
- Determine the best angle for backing your RV into the site, taking into account any site hookups or amenities.
- Carefully maneuver your RV into position, making slow and controlled movements. Utilize a spotter if available, using hand signals or a walkie-talkie for effective communication.
Step 3: Level Your RV
Ensuring that your RV is level is essential for comfort and proper functioning of appliances. Follow these steps to level your RV:
- Use a leveling tool, such as a bubble level or smartphone app, to check the RV’s levelness.
- Adjust the RV’s position by adding leveling blocks or using the RV’s built-in leveling jacks.
- Extend the leveling jacks or blocks incrementally, checking the levelness after each adjustment until the RV is perfectly level.
Step 4: Connect to Hookups
Connecting your RV to the necessary hookups is vital for access to water, electricity, and sewage disposal. Here’s how to do it:
- Connect your RV to the campsite’s electrical hookup using an appropriate power cord. Ensure the power source is turned off before making the connection.
- Attach a drinking water hose to the campsite’s water hookup, ensuring a tight and leak-free connection. Use a pressure regulator to protect your RV’s plumbing system.
- If applicable, connect your RV to the campground’s sewer hookup using a sewer hose. Ensure the connections are secure and use a sewer hose support to maintain proper drainage.
Step 5: Stabilize Your RV
Stabilizing your RV reduces movement and provides a more stable living environment. Follow these steps:
- Extend the stabilizing jacks located at each corner of your RV to provide additional stability.
- Lower the jacks until they make firm contact with the ground, but avoid overextending or using them to lift the RV.
Step 6: Set Up Outdoor Amenities
Enhance your outdoor experience by setting up your campsite’s outdoor amenities:
- Unfold and arrange camping chairs, tables, and awnings.
- Set up any additional outdoor equipment, such as grills, hammocks, or fire pits, while adhering to campground rules and regulations.
By following these simple steps, you can effortlessly set up your RV once you arrive at a campsite. Remember to take your time, stay organized, and refer to your RV’s user manual for any specific instructions. With practice, you’ll become a pro at setting up your RV. Happy camping!


